Wondering what goes into the making of the simple yet essential steel nail? These small fasteners play a role in countless construction and manufacturing projects, proving essential for businesses across the globe.
With years of expertise in the steel nail industry, we understand the distinctions and complexities of nail production. Our insights are based on hands-on experience and a deep understanding of market demands.
The process of making steel nails is complex and fascinating, involving several critical steps to ensure quality and functionality.
In this ultimate guide, we’ll delve into the specifics of nail manufacturing. From raw material selection to the final packaging, you’ll gain a comprehensive understanding of each stage of the process.
So read on to learn more!
Step#1 Material Preparation
Initiating the process of steel nail manufacturing, the first step focuses on preparing the material. Here are the key aspects of material preparation:
- Selection of Steel: Selecting the right steel is the foundation of nail manufacturing. Low-carbon steel is often chosen for its perfect balance of flexibility and strength. As per Volza, low carbon steel wire import shipments in the world stood at 3.9K, imported by 699 World Importers from 442 Suppliers.
- Inspection for Alloy Composition: After selecting the steel, it’s crucial to analyze its alloy composition. This inspection ensures the steel has the right mix of elements, which is essential for achieving the desired properties in the final nail product.
- Preparation for Processing: Once the steel quality is assured, it is prepared for further processing. This includes uncoiling the steel rolls and flattening them. Such preparation is essential for ensuring consistent cutting and shaping in later stages.
- Storage and Handling: Properly storing and handling steel is imperative to maintaining its quality. The steel must be kept in a controlled environment to prevent any form of damage or contamination, ensuring its integrity throughout the manufacturing process.
Step#2 Cutting the Steel
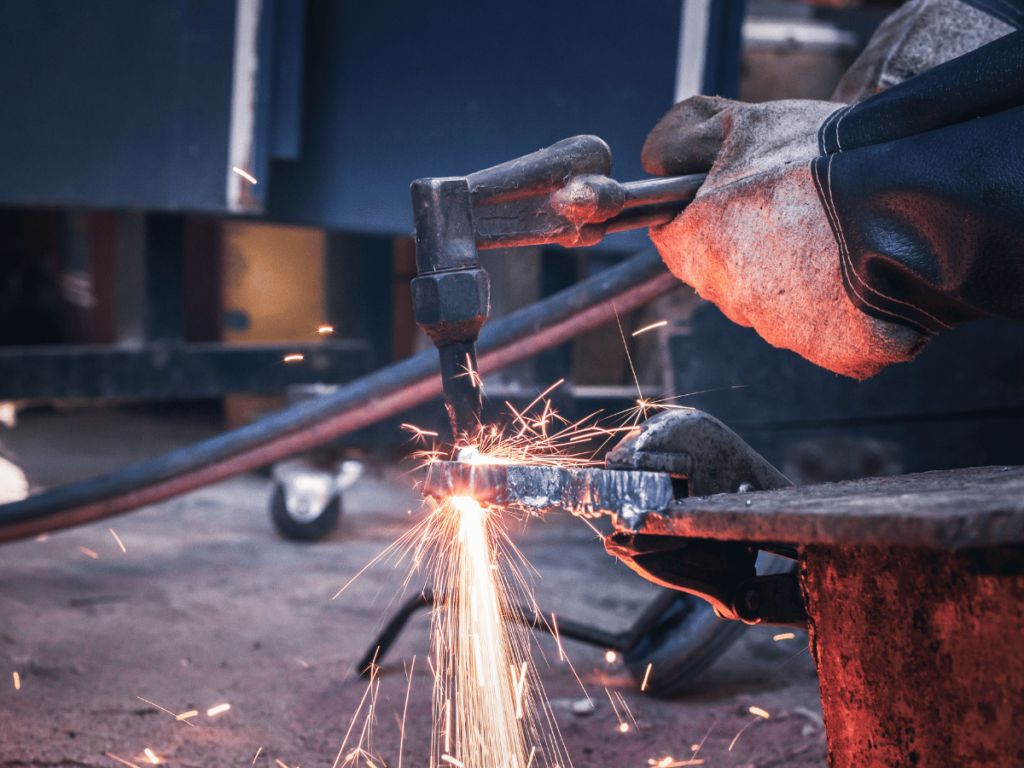
After material preparation, let’s move to the second critical phase in nail manufacturing, where it focuses on precisely cutting steel. Here are the essential steps in this process:
- Measuring and Marking: Accuracy starts here. Each steel piece is carefully measured and marked, ensuring uniformity in nail length. This precision is not just about aesthetics; it’s important for meeting bulk manufacturing requirements and maintaining consistency in product quality.
- Cutting Process: Utilizing advanced cutting machines, the steel is sliced into pre-marked lengths. The cutting machines are designed for precision and speed, balancing the need for accurate cuts with the demands of high-volume production.
- Deburring: The cutting process often leaves rough edges, which are smoothed out in the deburring phase. This step is crucial for removing any imperfections that could compromise the nail’s quality or pose safety risks during further handling and use.
- Batch Organization: After cutting, the steel segments are carefully organized into batches. This organization is more than just a logistical step; it’s essential for efficient production flow, quality control, and traceability throughout the manufacturing process.
Step#3 Heating the Rod
Once done with cutting, the third step in steel nail manufacturing involves the critical process of heating the steel rods. Let’s see the detailed steps in this phase:
- Heating Methodology: In this stage, steel rods are uniformly heated to a specific temperature. This heating is crucial as it makes steel malleable, an essential property for the easier shaping and forming that follows. The heating process is closely monitored to achieve the perfect temperature balance.
- Temperature Control: Precise temperature control is key. If the steel is overheated, it may weaken, compromising the nail’s structural integrity. Conversely, underheating the steel can result in difficulties during the shaping process, leading to subpar nail quality.
- Timed Heating Process: The heating duration is carefully timed for uniformity. For example, if the rods are heated for too short a time, the steel may not soften enough, leading to inconsistent nail quality. Consistency in this process ensures that each nail produced maintains similar properties and standards.
- Cooling Preparation: Following the heating, a carefully controlled cooling process is prepared. This stage is crucial for maintaining the structural integrity of steel, ensuring it is in the ideal condition before proceeding to the next production phase.
Step#4 Forming the Nail Head
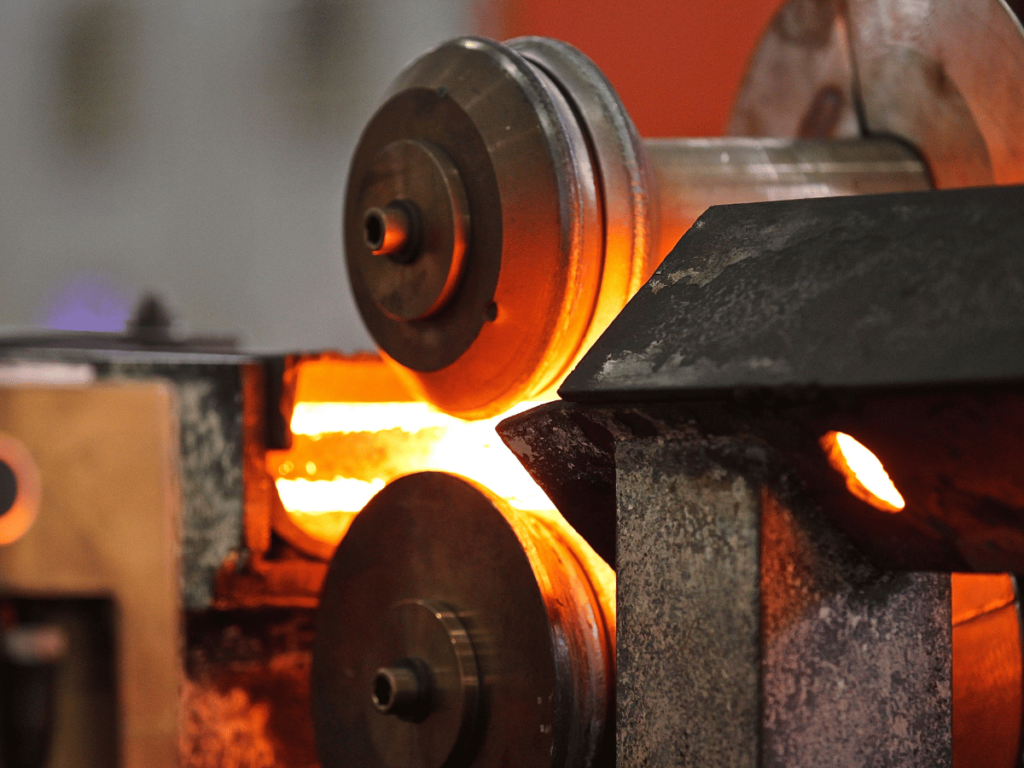
After heating the rods to perfect malleability, the next crucial step is forming the nail head. Let’s break down the specific processes in this stage:
- Head Formation Machinery: At this juncture, specialized machinery plays an important role. These machines are designed to press heated steel precisely, forming a uniform head on one end of each rod. Awnail offers a range of such machines, known for their reliability and precision in head formation.
- Size and Shape Consistency: Consistency in the size and shape of the nail head is not just a matter of aesthetics; it’s imperative for the nail’s functionality. The machinery used for this process is carefully calibrated to ensure that each nail head meets exact specifications for uniformity and performance.
- Nail HeadStrength Testing: Post-formation, nail heads undergo thorough strength testing. This step is crucial to ensure that the nails are capable of withstanding the stress of hammering during application without any deformation, thus maintaining their integrity and usability.
- Efficiency in Production: The entire process of forming the nail head is finely tuned for both speed and efficiency. This optimization is necessary to meet high production demands while ensuring that the quality of each nail remains uncompromised. The focus is on producing a large volume of nails of high quality.
Step#5 Shaping the Shank
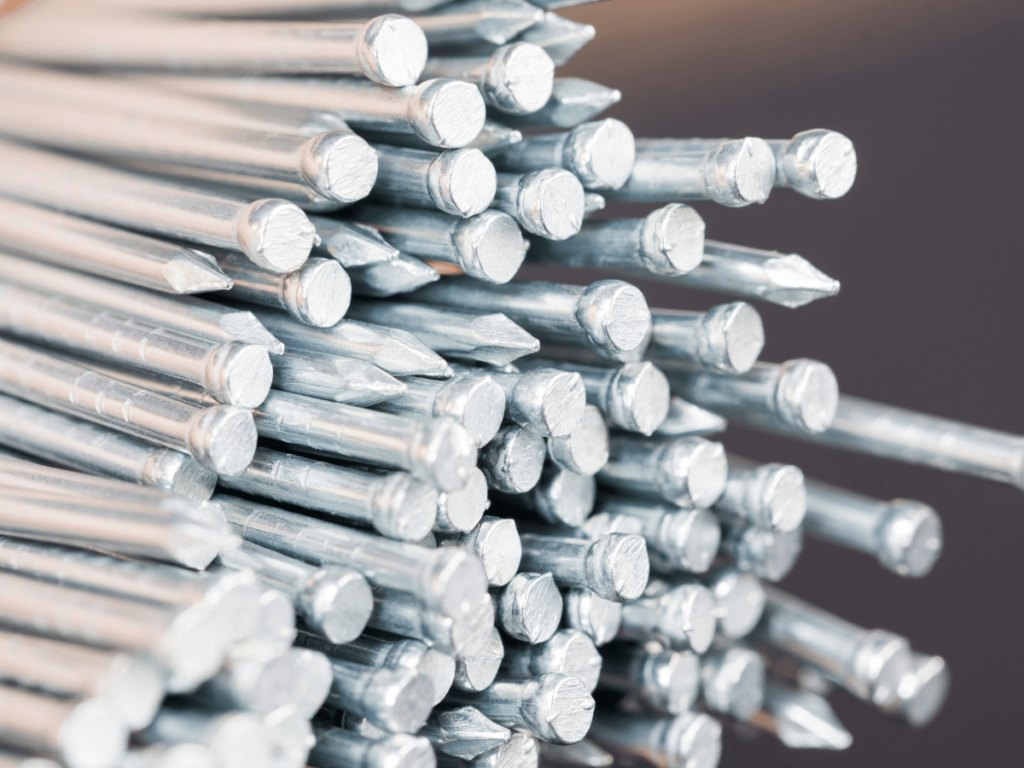
With the nail heads formed, we move on to shaping the shank, a crucial part of the nail. Let’s see the key steps in this process:
- Shank Design: The shank, the long and straight portion of the nail, is designed according to specific applications. Variations in its thickness and length are adjusted to suit different uses, from delicate woodworking to robust construction projects. This customization is crucial for the nail’s utility.
The table below outlines key aspects of shank design in nails, emphasizing the importance of tailoring thickness and length to specific applications. This customization is crucial for maximizing the nail’s utility across various industries, from delicate woodworking to robust construction projects.
| Aspect | Description | Importance in Applications |
| Shank Thickness | Refers to the diameter of the nail’s shank. It ranges from fine to thick gauges. | Delicate Applications: Fine gauges are ideal for woodworking and trim work to minimize splitting. Robust Applications: Thick gauges provide greater strength for construction and framing, offering better load-bearing capacity. |
| Shank Length | The length of the shank determines how deep the nail can penetrate and secure materials. | Short Lengths: Suitable for thin or delicate materials where minimal penetration is required. Long Lengths: Necessary for deep penetration in construction projects to ensure structural stability. |
| Material Compatibility | Shank design must be compatible with the material it is intended for, to prevent corrosion or weakening over time. | Indoor Use: Less corrosive-resistant materials are suitable. Outdoor Use: Materials resistant to corrosion, such as galvanized steel, are preferred to withstand weather conditions. |
| Shank Texture | The surface texture of the shank can vary from smooth to ringed or spiraled. | Smooth Shank: Easier to drive into materials but offers less holding power. Textured Shank (Ringed/Spiraled): Increases friction and holding power in the material, ideal for applications requiring high withdrawal resistance. |
| Tip Design | The design of the nail’s tip can affect the ease of penetration and the splitting of materials. | Sharp Tips: Allow for easier penetration with minimal effort. Ideal for delicate materials. Blunt Tips: Reduce the risk of splitting in harder materials. |
- Machinery Calibration: Precision is key in shaping the shank. Machines, such as those offered by Awnail, are calibrated to ensure that the shank’s diameter is consistent across all nails. For example, this uniformity is for the nail’s performance, ensuring it fits properly and holds securely in different materials.
- Surface Treatment: To enhance the grip of the nail, the shank undergoes surface treatment. This can include creating ridges or texturing the surface slightly, depending on the nail’s intended use. Such treatment improves the nail’s holding power, preventing slippage or withdrawal from the material.
- Inspection for Uniformity: Post-shaping, each shank is carefully inspected to ensure uniformity. Any deviations in shape or size are identified and rectified, or the piece is discarded. This step is essential to maintain the high quality and performance standards expected from nails in various applications.
Step#6 Pointing the Tip
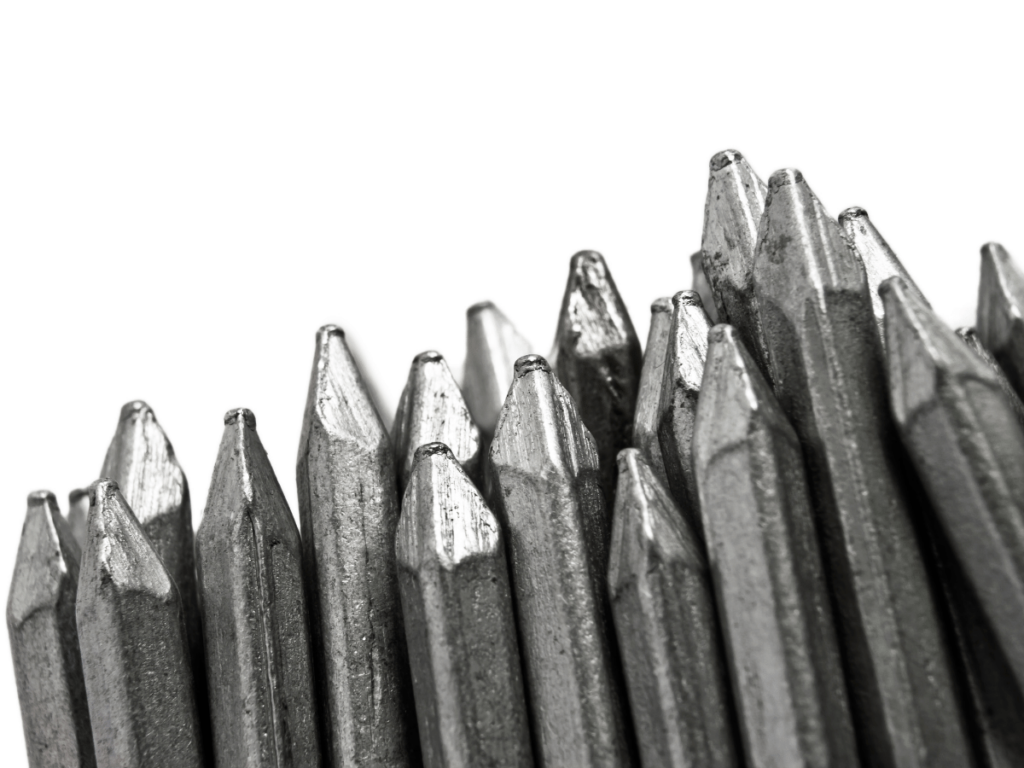
Following the precise shaping of the shank, the next critical step is pointing the tip of the nail. Here are some of the key processes involved in this stage:
- Tip Shaping Process: The process of shaping the tip is essential for the nail’s functionality. Using either grinding or shaving methods, the tip is fashioned into a sharp point. This sharpness is crucial for the nail to penetrate surfaces easily and effectively, which is a defining feature of its utility.
- Sharpness Checking: After shaping, the sharpness of each nail tip is strictly checked. This quality control step is important to ensure that the nails can pierce through various materials smoothly, without any bending or breaking. It’s a delicate balance of sharpness and strength that defines the nail’s effectiveness.
- Tip Strength Testing: The strength of the tip is just as important as its sharpness. Extensive tests are conducted to ensure that the tip maintains its integrity under pressure, preventing it from snapping off during use. This ensures reliability and safety in the nail’s application.
- Efficiency of Pointing: While quality is paramount, efficiency cannot be overlooked. The process of pointing the tip is optimized for speed to keep up with high production demands. However, this efficiency does not come at the cost of quality; maintaining high standards is a constant priority in the process.
Step#7 Quenching
After the careful process of pointing the tip, the nails proceed to the quenching stage. See the following steps that outline this crucial phase:
- Rapid Cooling: Quenching begins with rapidly cooling the nails. This is typically done by submerging the hot nails in a bath of water or oil. The immediate shift from high heat to cool temperature is a deliberate action to alter the steel’s microstructure, an essential part of the hardening process.
- Hardening the Steel: The primary objective of quenching is to harden the steel. This step significantly increases the strength and durability of nails, making them more resilient and long-lasting. It’s a transformational phase where steel acquires properties essential for its functional longevity.
- Stress Relief: Quenching also serves as a stress relief process for the metal. During the heating and shaping stages, internal stresses can develop within the steel. Quenching helps in releasing these stresses, thereby preventing potential weaknesses or faults in the final product.
- Monitoring: Throughout the quenching process, careful monitoring is essential to ensure each nail achieves the desired level of hardness and maintains its structural integrity. This monitoring is not just about achieving the right hardness but also ensuring that the process is consistent for each batch of nails.
Step#8 Cleaning and Finishing
Following the crucial quenching process, the nails enter the cleaning and finishing stages. Let’s see some of the essential steps involved in this part of the manufacturing process:
- Removal of Residues: After quenching, it’s essential to clean the nails thoroughly. This involves removing any residues left from the cooling medium (water or oil). The cleanliness of the nails at this stage is crucial for both their appearance and the effectiveness of any further treatments or coatings.
- Surface Finishing: Once cleaned, the nails undergo surface finishing. This can include polishing or buffing to give the nails a smooth, clean finish. This step not only improves the nail’s appearance but can also help prevent corrosion and extend the nail’s lifespan.
- Inspection for Surface Flaws: Each nail is carefully inspected for surface flaws or imperfections. Any irregularities, such as rough spots or uneven surfaces, are corrected to ensure that each nail meets the strict quality standards required.
Step#9 Quality Check
After the cleaning and finishing processes, the nails are subjected to a strict quality check. Here’s a list of the helpful steps in ensuring the nails meet the highest standards:
- Dimensional Accuracy: Each nail is carefully measured and examined to ensure it matches the specified size and shape requirements. This step is crucial as even minor deviations can affect the nail’s performance in its intended application. Precision in dimensions is about ensuring reliability in every use.
- Strength and Durability Tests: Nails are put through various tests to assess their strength and durability. These tests simulate the conditions under which the nails will be used, ensuring they can withstand typical stresses and loads. This testing phase is crucial to guarantee nail performance.
- Consistency in Quality: To ensure quality is consistent across all batches, regular sampling and testing are conducted. This consistency is key to maintaining the brand’s reputation and building client trust.It’s not just about producing a good batch of nails but about replicating that quality repeatedly.
- Record Keeping: Detailed records of all quality checks are carefully maintained. This documentation is important for tracing any issues back to their source, ensuring accountability, and aiding in the continuous improvement of the manufacturing process. It’s a practice that helps refine the production process.
Step#10 Coating for Protection (Optional)
Following strict quality checks, an optional but crucial step in the nail manufacturing process is the application of protective coatings. See below for the following key aspects of this process:
- Selection of Coating: The choice of coating material is determined by the nail’s intended application. Materials like zinc or copper are commonly used for their anti-corrosive properties. The right coating not only extends the nail’s lifespan but also enhances its performance in various environments.
- Application Process: The method of applying the coating is critical for achieving uniform coverage. Techniques like dipping, spraying, or electroplating are employed based on the type of coating material. Each method ensures that the coating is evenly distributed over the steel nails, providing protection.
- Drying and Curing: After the application, the nails are dried and cured. This phase is essential for the stability of the coating. The curing process solidifies the coating and ensures strong adhesion to the nail’s surface, thereby enhancing its durability and resistance to environmental factors.
- Final Quality Assurance: Even with the protective coating, the nails undergo one last round of quality checks. This final assessment ensures that the coating is flawlessly applied and contributes positively to the nail’s overall effectiveness and longevity. It’s a testament to the commitment to quality.
Dive Deeper Into Our Resources
Looking for more diverse product options? Browse through our handpicked selections:
Still haven’t found what you’re looking for? Don’t hesitate to contact us. We’re available around the clock to assist you.
Conclusion
In wrapping up, this guide has detailed the precise steps involved in producing high-quality steel nails, underscoring the importance of each stage in ensuring the final product’s effectiveness and durability. This knowledge is invaluable for businesses aiming to refine their manufacturing practices.
For enterprises aiming to optimize their nail production or source top-tier manufacturing equipment, Awnail stands ready to assist. Discover our range of solutions tailored to your business needs. Feel free to contact us.

