Are you struggling to enhance productivity in your nail manufacturing business? The key lies in mastering the operation of your nail making machine, a critical component in optimizing production efficiency and quality.
As an expert in the nail machine making industry, my insights are rooted in extensive experience and a deep understanding of these machines. My guidance is tailored to help your business excel in a competitive market.
The step-by-step process of operating a nail making machine, when executed correctly, can transform the efficiency of your production line, leading to significant business growth and success.
In this guide, you’ll learn practical, efficient methods to operate your machine, covering everything from basic setup to advanced functionalities.
For a detailed discussion, keep reading.
1. Step#1 Pre-Operational Checks
To begin the process of operating a nail making machine, conducting thorough pre-operational checks is essential. These checks ensure that the machine is in optimal condition. Here are the key steps to follow:
- Inspect the Power Supply and Connections: Ensure that the power supply to the machine is stable and all electrical connections are secure. This step is crucial to prevent power fluctuations that can damage the machine or compromise safety.
- Check for Physical Damage: Examine the machine for any signs of physical damage, such as cracks or wear and tear on moving parts. Addressing these issues before operation can prevent breakdowns and maintain consistent production quality.
- Lubricate Moving Parts: Proper lubrication of moving components is vital to reduce friction and wear. This not only extends the lifespan of the machine but also ensures it operates smoothly and efficiently.
- Verify Material Quality: Before starting production, check the quality of the raw materials. Using materials that meet your specifications is critical for producing high-quality nails and maintaining machine performance.
2. Step#2 Setting Parameters
Following the completion of pre-operational checks, the next critical step is setting the parameters of your nail making machine to ensure that the machine operates within its optimal range. Here are the steps to follow in this phase:
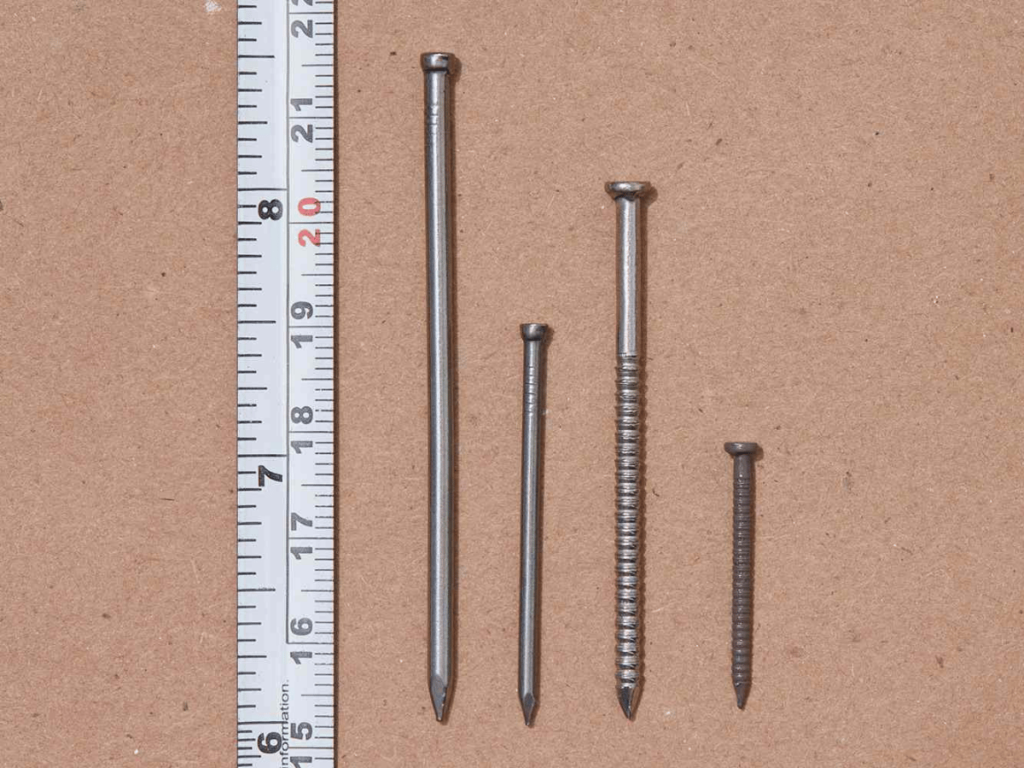
- Adjust Nail Size and Shape Settings: To start, based on the desired nail specifications, configure the machine settings for nail size and shape. This includes length, diameter, and head shape, ensuring that each nail produced meets your quality standards.
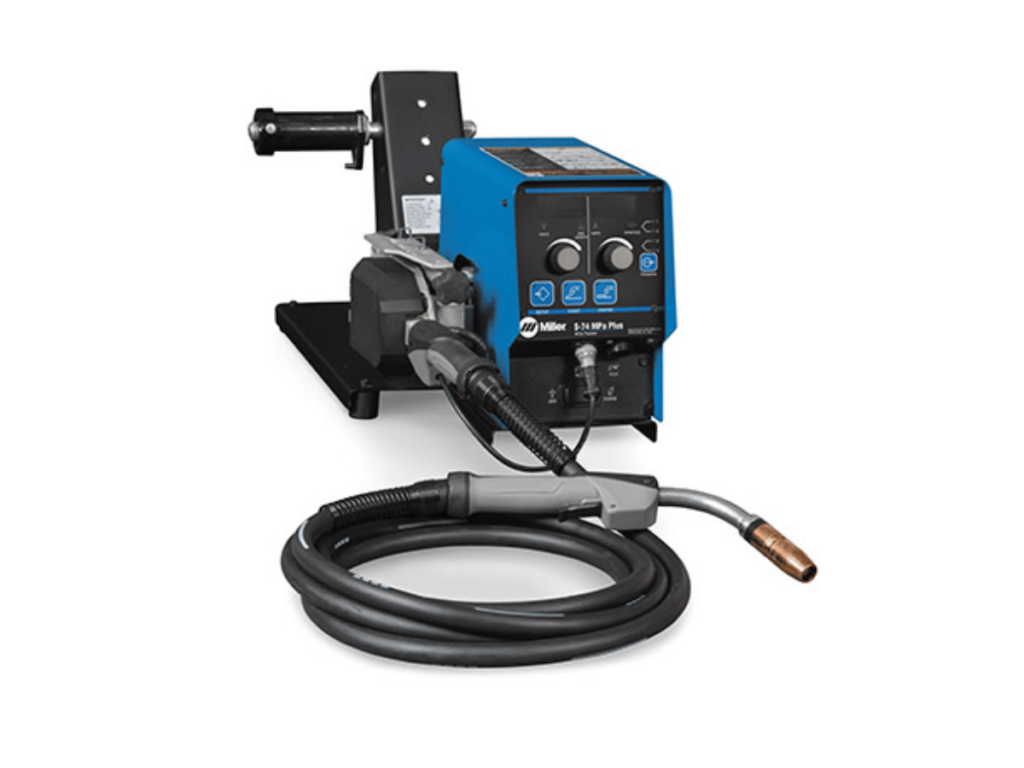
- Set the Wire Feed Rate: The wire feed rate must be adjusted according to the thickness of the wire and the desired production speed. A balanced feed rate is key to prevent material wastage and ensure uninterrupted operation.
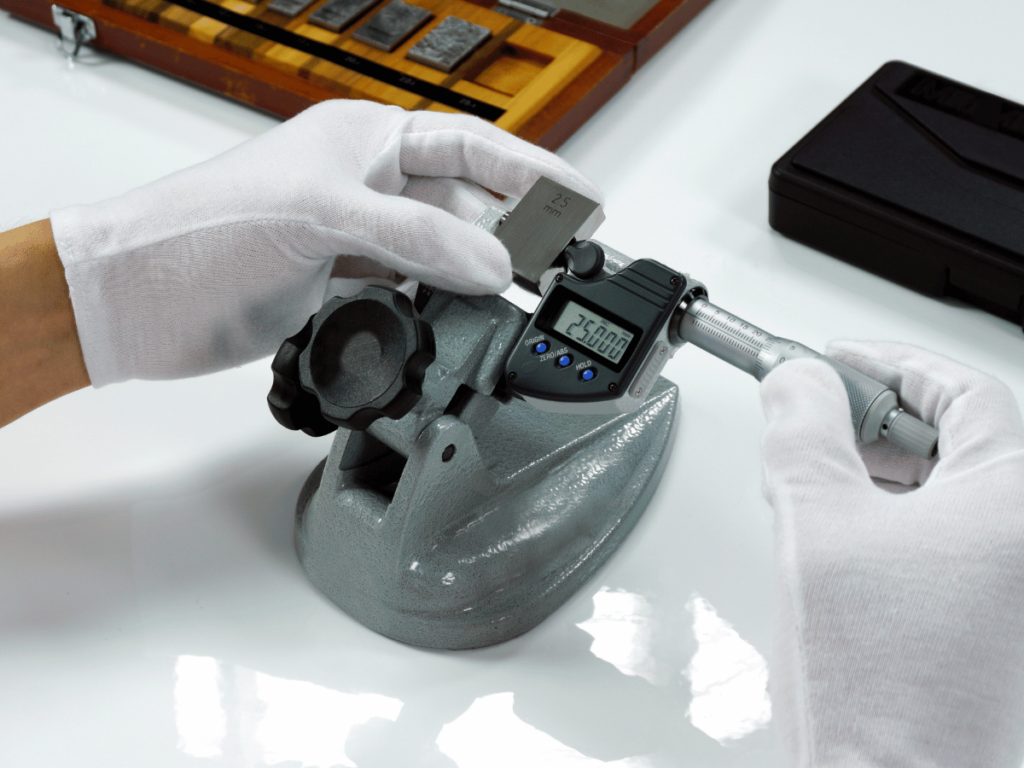
- Calibrate the Cutting Mechanism: Ensure the cutting blades are aligned and calibrated for precise cutting. Based on my experience, this step is essential to achieve uniform nail lengths and to prevent damage to the wire or machine.
- Program Production Speed: Set the machine’s production speed, keeping in mind the balance between efficiency and quality. An optimal speed reduces the strain on the machine’s components while maintaining a high output rate.
3. Step#3 Powering Up the Machine
After meticulously setting the parameters, the next pivotal step is powering up your nail making machine. This phase transitions the machine from a static state to active production. Here’s how to do it:
- Initiate Power Sequence: Start by engaging the main power switch. This action should gradually energize the machine’s electrical system, ensuring a stable power flow without sudden surges. Awnail’s nail making machines are designed with this smooth power initiation in mind, ensuring a safe and stable start-up.
- Activate Control Panel: Power up the control panel to access the machine’s operational interface. This is where you can monitor machine status, input commands, and make any last-minute parameter adjustments.
- Engage Safety Systems: Before full operation, ensure all safety systems, including emergency stops and guard sensors, are active and functioning correctly. These systems are crucial for preventing injuries and protecting both the operator and the machine.
4. Step#4 Feeding the Raw Material
With the nail making machine powered up, the next crucial step is the feeding of raw material. This ensures a consistent supply of material for nail production. Here are the essential steps for effective material feeding:
- Load the Wire Spool: Begin by loading the spool of wire onto the feeding mechanism. Ensure that the spool is properly secured and positioned to allow for smooth unwinding without any obstruction or tangling.
- Guide the Wire through Feeders: Carefully thread the wire through the machine’s feeders and straighteners. This process should be done delicately to prevent any kinks or bends in the wire, which could lead to production issues.
- Check Tension and Alignment: After threading the wire, verify that the tension is appropriate and the wire is perfectly aligned with the cutting and shaping mechanisms. Proper tension and alignment are critical for uniformity in the nails produced.
5. Step#5 Setting the Nail Size and Shape
Once the raw material is successfully fed into the machine, the focus shifts to setting the nail size and shape, a critical process that defines the final product’s specifications. Here’s how to precisely adjust the setting:
- Select Nail Size Parameters: Use the control panel to input the desired nail length and diameter. This should be based on your production requirements or client specifications, ensuring each nail meets the set dimensions accurately.
- Adjust Nail Shape Settings: Configure the settings for the nail head and point shape. Different types of nails require specific head shapes and point styles, such as flat heads for general use or more specialized shapes for specific applications. Awnail’s machines offer versatile setting adjustments, allowing for easy customization to produce a range of nail shapes and styles.
Below is a table highlighting the adjustable settings for nail shapes on Awnail’s machines, showcasing the versatility in producing various nail heads and point styles for different applications.
| Nail Type | Head Shape | Point Style | Application |
| General Purpose | Flat Head | Diamond Point | Broad range of uses in construction and carpentry |
| Finishing | Small, Flat Head | Blunt Point | Woodworking and trim work, where a less visible nail head is desired |
| Roofing | Large, Flat Head | Sharp Point | Fastening roofing materials, ensuring high holding power |
| Masonry | Round Head | Tungsten Carbide Tip | Fastening to concrete or masonry, where extra durability is needed |
| Upholstery | Decorative Head | Needle Point | Furniture and upholstery, where aesthetics are important |
- Calibrate Shaping Tools: Ensure that the shaping tools, such as dies and cutters, are precisely calibrated according to the chosen size and shape. This calibration is crucial for achieving consistent nail quality and preventing tool wear.
- Test and Confirm Settings: After setting the parameters, run a few test cycles to produce sample nails. Inspect these samples to confirm that they match the desired size and shape, making any necessary adjustments before commencing full-scale production.
6. Step#6 The Cutting and Shaping Process
After setting the nail size and shape, the nail making machine is ready to perform the cutting and shaping process. This stage is where the raw material transforms into the final nail product, making precision and accuracy paramount. Here are the crucial steps involved:
- Initiate the Cutting Mechanism: The machine starts by cutting the wire to the predetermined length. This process must be precise, as it determines the final length of the nail. The cutting blades should be sharp and well-aligned for clean cuts.
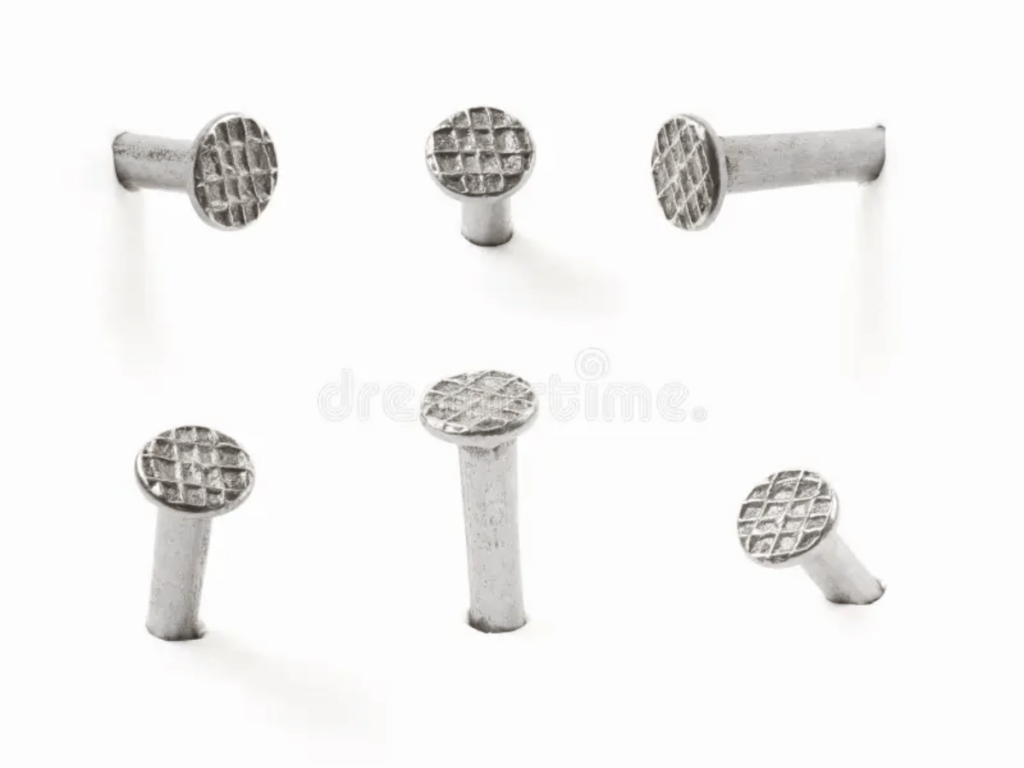
- Shape the Nail Head: Once cut, the machine shapes the nail head. For example, if producing common nails, the machine will form a flat head suitable for general-purpose use. The head shape is crucial for the nail’s functionality and application.
- Form the Nail Point: After the head is shaped, the machine tapers the other end to form the nail point. This step is vital for the nail’s penetration capability and should be consistently sharp and centered.
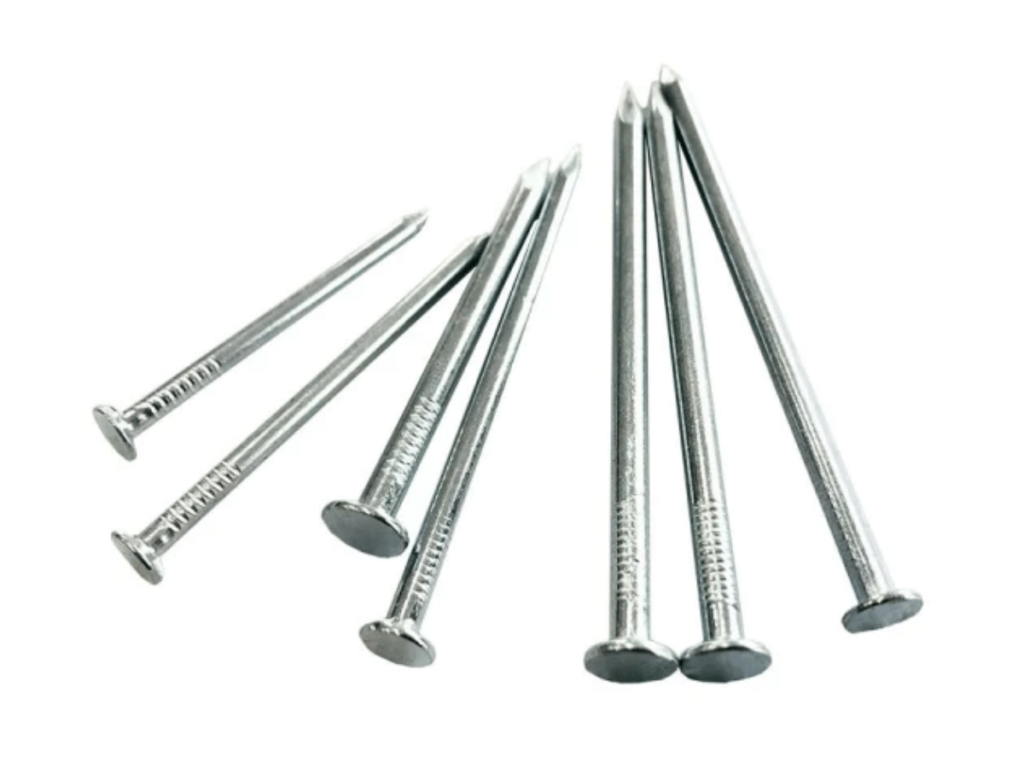
- Apply Finishing Touches: Finally, the machine may perform additional finishing processes, such as smoothing or coating, depending on the nail type. This step enhances the nail’s appearance and can provide additional properties like corrosion resistance.
7. Step#7 Quality Control When Operating
Following the cutting and shaping process, implementing stringent quality control measures is essential to ensure that the nails produced meet the required standards. Here are the steps to follow in this process:
- Regular Inspection of Nail Dimensions: Periodically check the dimensions of the nails being produced. Ensure they align with the set parameters for length, diameter, and head size. This step helps identify and correct any deviations early in the production process.
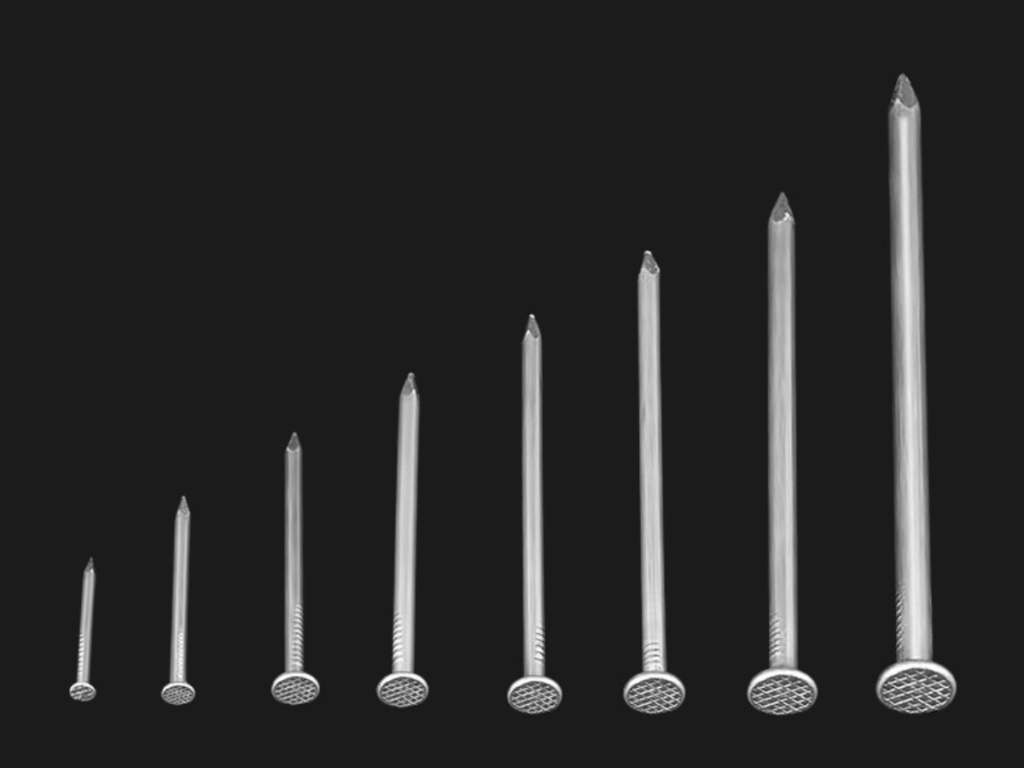
- Examine Nail Finish and Texture: Assess the surface finish and texture of the nails. For instance, if producing galvanized nails, ensure the coating is uniform and free of defects. A consistent finish is crucial for both the appearance and functionality of the nails.
- Test Nail Strength and Durability: With the nail market projected to grow at a CAGR of 4.6% from 2023 to 2030, as per Grand View Research, testing nail strength and durability becomes increasingly crucial. Strength tests verify the nails durability and load-bearing capacity, especially for those used in heavy-duty applications.
- Monitor Machine Performance: Keep an eye on the machine’s performance indicators. Regular monitoring can detect issues like dull cutting blades or misalignments, which can impact nail quality. Prompt maintenance can prevent quality degradation.
8. Step#8 Unloading Finished Nails
The final step in operating a nail making machine is the unloading of finished nails, a process that requires careful handling to maintain the quality of the product. Here is the detailed process of this step:
- Stop the Machine Safely: Once the production run is complete, safely bring the machine to a stop. Ensure all moving parts have ceased operation before proceeding to unload.
- Gather Nails from Collection Area: Carefully collect the finished nails from the machine’s collection area. This should be done gently to prevent bending or scratching the nails, maintaining their integrity.
- Inspect for Any Last-Minute Defects: Perform a final visual inspection of the nails as you unload them. Look for any imperfections or inconsistencies that might have been missed during the earlier quality control checks.
- Package and Label Nails Appropriately: Finally, package the nails according to their size, type, and application. Proper packaging is essential for safe transportation and storage. Label each package clearly with relevant information such as nail type, size, and batch number.
Dive Deeper Into Our Resources
Looking for more diverse product options? Browse through our handpicked selections:
Still haven’t found what you’re looking for? Don’t hesitate to contact us. We’re available around the clock to assist you.
Conclusion
Diving deeper into the complexities of nail making machine operation is crucial for businesses aiming to boost efficiency and quality. This step-by-step guide is your key to unlocking improved productivity and operational excellence.
If you’re seeking expert assistance to optimize your nail making machine’s operation, Awnail is here to help. For tailored solutions and support, contact us and elevate your nail production process.

